~Crafty Hearts, Warm Home and Little Toes~

~Crafty Hearts, Warm Home and Little Toes~

Thank you for visiting my blog, here you will find tons of before and afters and decorating tips all done with a small budget! I love being inspired, so I hope something on my site will inspire you. My husband and I have been working to transform our little house into a warm, comfortable, cozy and updated home. We are newly married 20 somethings enjoying life and livin it to it's fullest! Now we are on to lifes next adventure and having our first baby! Please follow us as we go through life transforming, creating and learning to be parents!


Saturday, December 18, 2010

Good Bye Purple People Eater!!!

Crafty Hearts is participating in Metamorphosis Monday, check out all these other marvelous makeovers HERE

We found this chest at our local goodwill.  Ryan actually spotted it when he was looking for the dining room chairs I should have bought when I saw them the first time (still mad at myself for that one).


The inside is in really good shape, and the whole chest is built really well. 


The finished project, after 6 cans of espresso spray paint and some new hardware, the whole project cost us about $60.00!!!
Still not sure of the location for it though.  Any thoughts???


Photobucket http://linda-coastalcharm.blogspot.com/
HOG
The DIY Show Off

Thursday, December 16, 2010

For my classroom buddies

Click on this----Fireplace 

This is great, put this on your projector while the students are working on their winter crafts!  Too Cute!  I also had it going during ZYLAR (Zip Your Lips And Read)  and the room felt so relaxed!  They stayed in the reading zone for over 30 minutes!!  MAGIC!

Wednesday, December 15, 2010

Just a little change for the holidays


I put some scrapbook paper in these cute frames to add some character to my kitchen. 


After a few hours of crafting these I had some extra paper....so why not change these up for the holidays.  Easy Peasy :)

Sunday, December 12, 2010

Season's Greetings


~wishing you a very merry christmas and happy new year~


~Love~
Jaymee and Ryan

Snowed in Arts and Crafts

I saw this great idea HERE at thrifty decor chick (one of my favorite sites) so I was inspired!  Here is what I came up with...

All you need:  Mod Podge, paint brush, glue gun, scrap book paper, and wood letters saying anything you would like.


Here I am tracing each letter to the scrapbook paper I had.


Letters drying (I made two sets).
and the finished product:)


and the second finished product:)

A little winter scenery

 Just for fun...
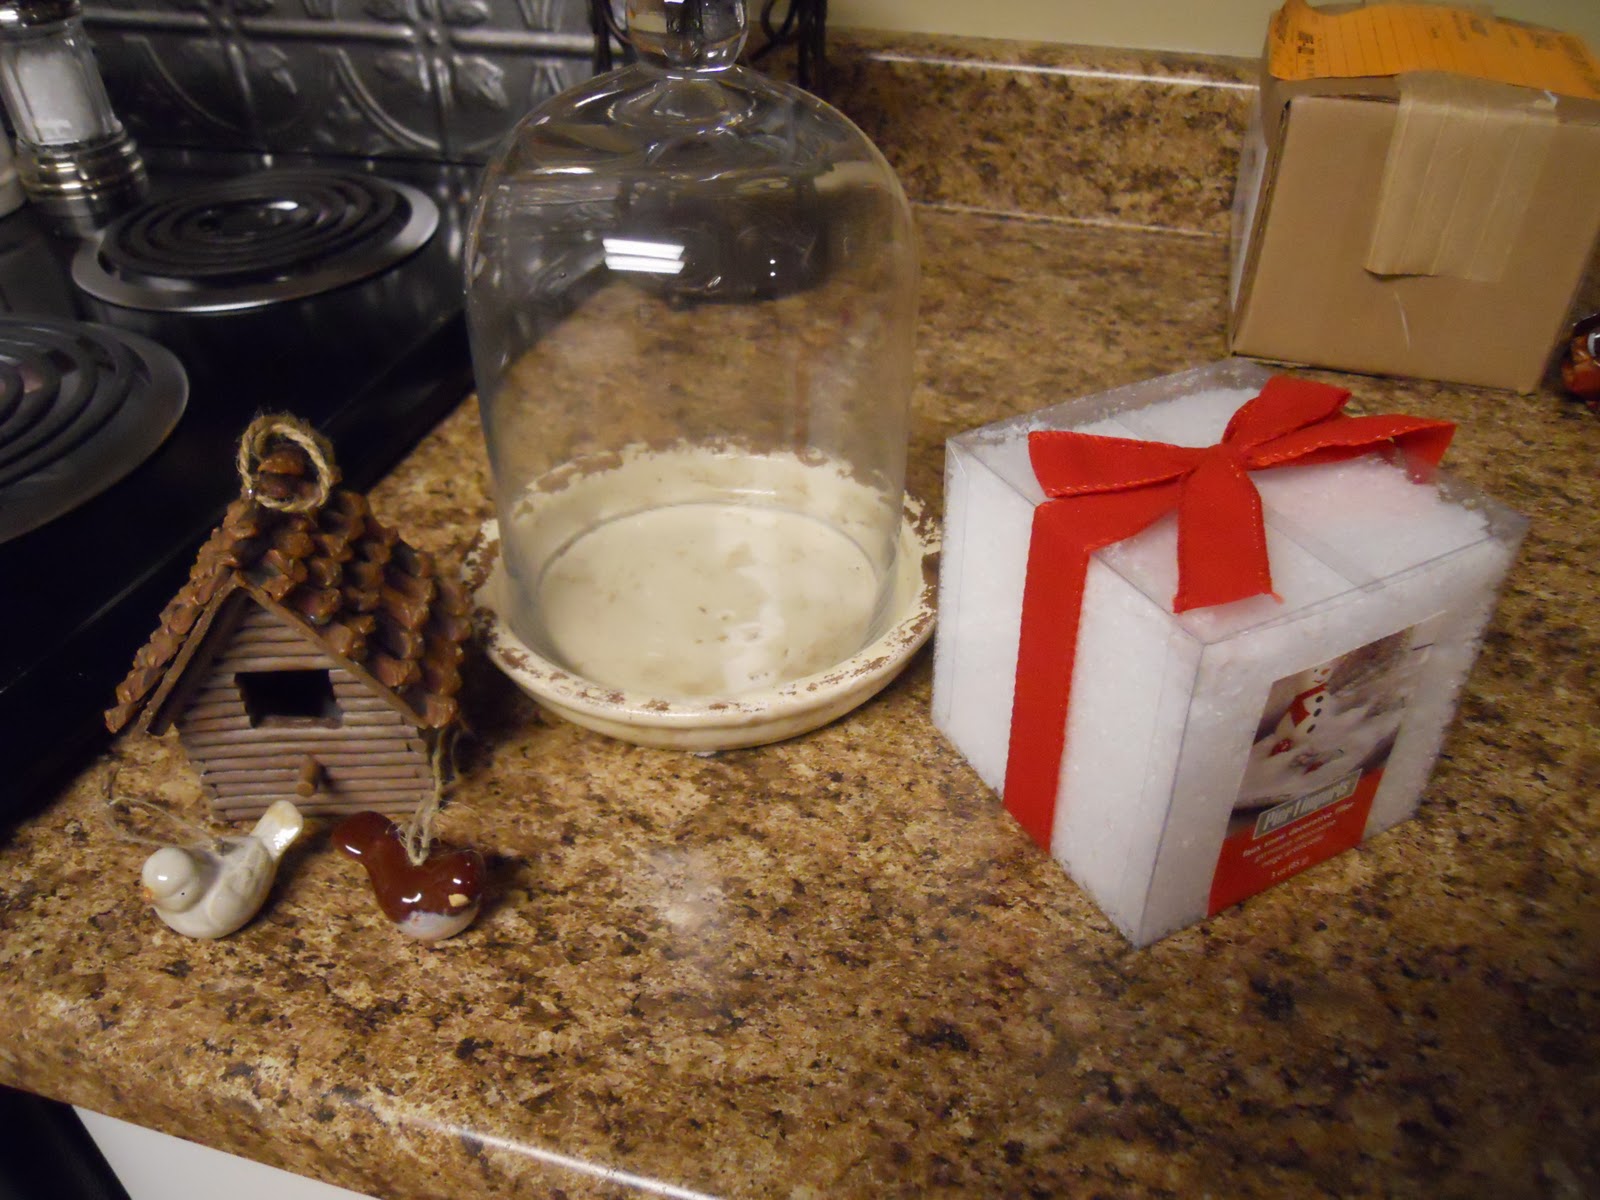
I am loving these glass domes lately and it just so happens I found this cute little one at TJ Maxx. It was suppose to be for a herb garden, but I am all about winter right now so the herb garden will have to wait til spring.


I did not want to spend anymore money on decoration, even though I saw the cutest little reindeer ornaments that would have looked adorable to put in this dome.  I opted to scope out my tree and grab some ornaments I already had.  It works for this Christmas and maybe I'll check on those reindeer after Christmas for a 50% off deal.


Thursday, December 9, 2010

What to do with all those wedding pics???

This is a plate rack that I bought a few matching frames for, I then added a few of my favorite pictures.
We placed it in a bare corner in our family room, above a large plant.
Since it was in a corner, it was a little tricky to hang, but we got it done:)
We picked up this old window at a Flea Market, it was already white, so nothing was done to it by us.  I used those glue dots to attach the pictures.  You can't even see them!
We found this old frame at a flea market, it was already an ivory color so there wasn't any work to do there.  I attached the photos using glue dots. 

This is another window we found at a re-sale shop. 

DIY Programs, cardbox, place settings, etc.

These are our programs, I made them with leftover invitation paper I had.  The front damask print was already on there (from the invitations)  Then I just made a text box and made the monogram in word.  I used a rhinestone brad to attach all of the pages.  Very easy and all it cost me was ink and time.

I can not take credit for this one.  Ryan actually made this with tree branches that had fallen from the big trees we have in our yard.  He made a base and then hot glued all of the sticks around it.  I then went over it with some moss to give it a more rustic look.  I printed off the love birds sign using word and extra invitation card stock we had.

Again, these were made with extra invitation card stock, I used a stamp for the damask part and used fun scissors and punch outs to add more character.  These were just tied to out parents chairs in the church.  You could probably do the same thing at the reception too if you wanted.

This is the only picture I have of our place cards(rocks).  It was full before everyone took their rock.  I used a silver Sharpie and put couples names on a rock with their assigned table number.  It was a big hit!


and if I could re-cap our whole wedding experience with one picture....it would be this one!!! SO MUCH FUN!!

Saturday, December 4, 2010

It's Beginning to look a lot like Christmas!

We finally got our first big snow fall last night!  What a better time to show some winter decorations!


This was a very easy centerpiece to put together, I used things I already had.  The runner is from our wedding this summer, the wreath was one that I put on our front door last year (I'm looking for a new one for the front door now), the bowl was a resale shop find (one of my favorites)  The base was gold, so I just spray painted it espresso, did I mention I spray paint everything!!


Here I just switched out the dried flowers and added a winter touch.


Again, I used a runner from our wedding.  I love them too much to let them sit in our "wedding" closet, and they do work well with winter.  Then I took things I already had out and added some winter holly to it. 


Just a few holiday touches.


Here I added a ribbon bow and just some garland I bought at Micheal's.  Really easy and festive.

Thursday, December 2, 2010

Our Master bedroom re-do

This is our bedroom when we first bought the house.  We did put
new closets doors on, but only painted the 6-panel door with white trim paint.  You can't tell it used to be brown at all.

This was in the middle of our redo, we wanted to wait on getting our bedroom exactly how we wanted it until after our wedding.  It was one of the things we did together as a married couple.


And here is our bedroom now.  We added ceiling fans, which was one of the best things we did because it gets pretty hot in the summer.  Ryan added the chair rail, this gave the room a more finished look.  The candle sconces were found at different TJ Maxx stores and then we used the monogrammed candles we had at our wedding to give the room a more personal touch.